Showing posts with label coffee filter. Show all posts

Monday, February 11, 2013

2013 Valentine Craft day

This year we did our craft day a little differently. This year, I am no longer in the local moms group because we aged out with school. It makes me a little sad because we spent so many great years involved with it, that I figured we still needed to have a big craft day. So I got a room at the library for after school, and invited a bunch of our friends to join us. It was a huge success! I set up 4 crafts in different stations, and had everyone bring a snack to share. It worked out so well, that we are planning a St. Patrick's day the same way.


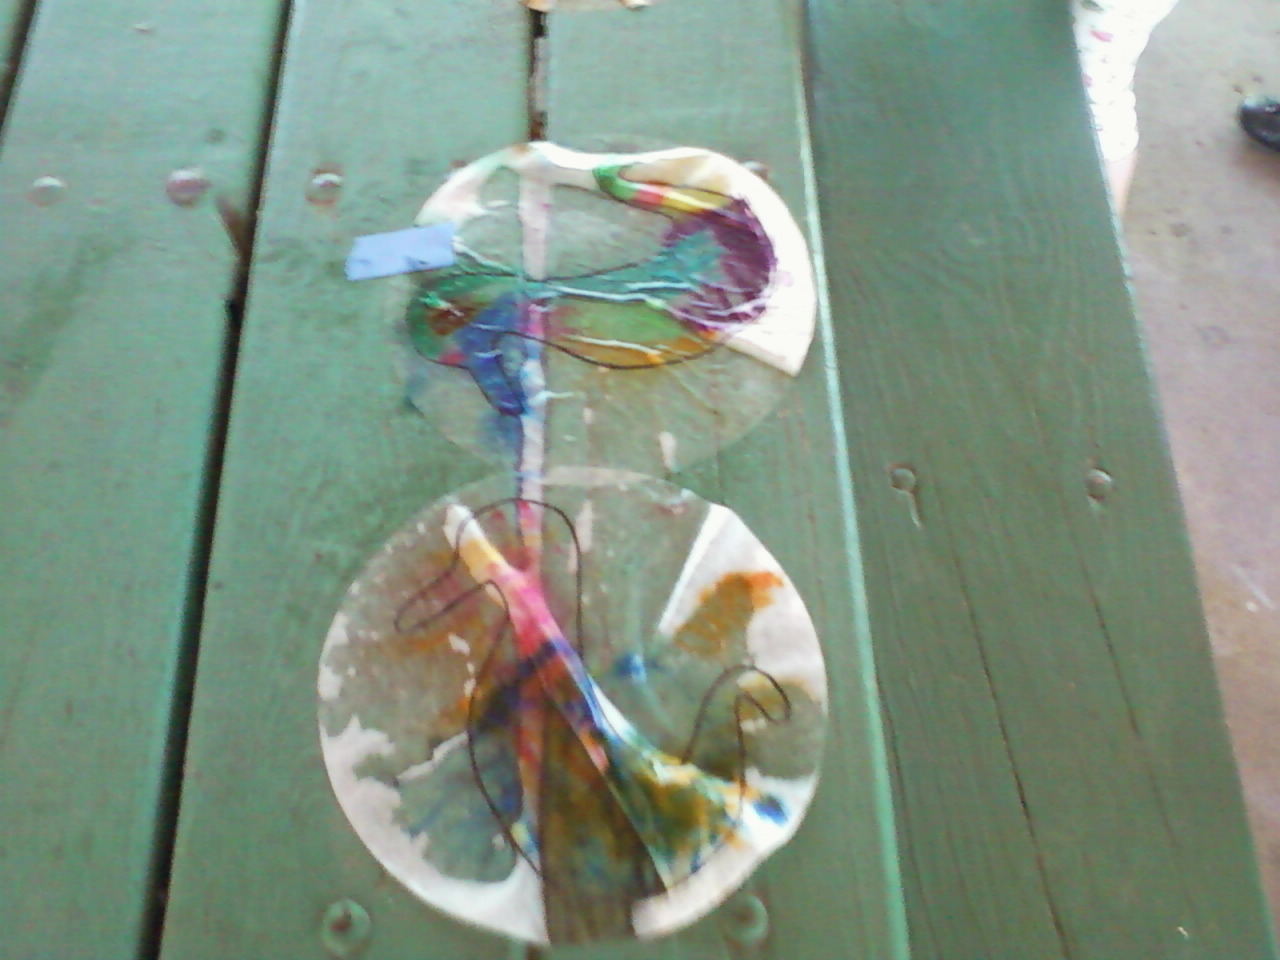
One of the craft the kids could make were heart sun catchers. I had hearts cut out of contact paper, construction paper heart frames, yarn, and tissue paper all pre-cut.


We did add 3 stories to the end of our craft time.

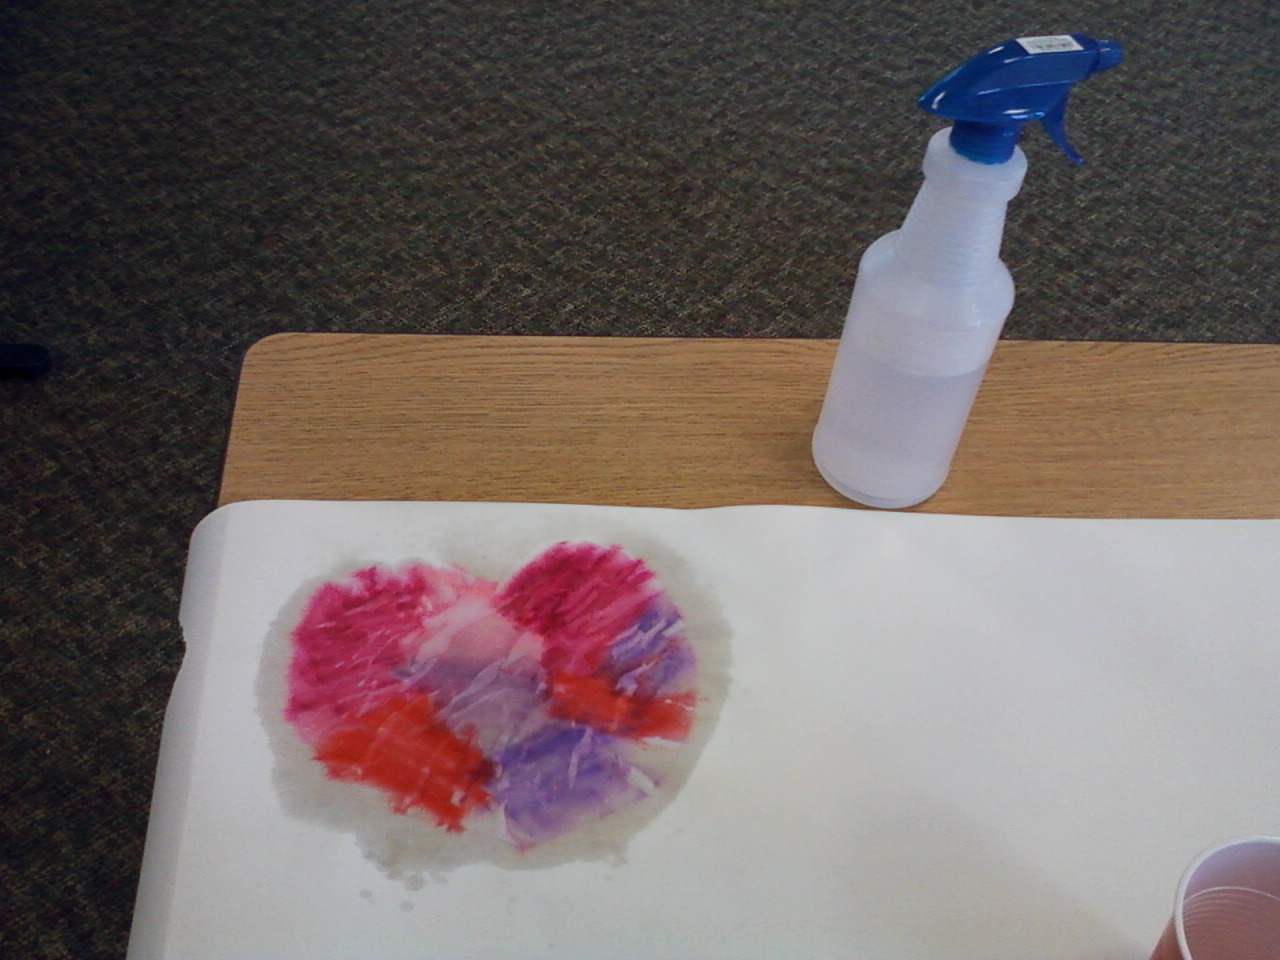
We also did one of our favorites. These always come out so nice looking! I cut the plain coffee filters into heart shapes and set out Valentine colors of washable markers. We encourage the kids to color in the entire filter.
 We then had the kid move down the table a bit and spray down the filter. This creates a fun tie dye effect. Always a fun craft!


 We did marble painted hearts. I had to come up with a way to do this and minimize the mess potential since it was in the library. A friend had donated these empty coffee cans to the Art Smart program at school, so I borrowed them for the afternoon. I had medium sized hearts cut out of white card stock. We only used red and purple paint, which still created some fun other shades after it was all done. I put the paint and a few marbles in a separate cup and used a plastic spoon to add them to the coffee cans. I made sure the lids were on tight, and the kids LOVED shaking the can and making loud music.

 And lastly we did the love birds that my kids and I had done a few years back as a fun and simple fourth craft. I had everything all pre-cut just making it easier, plus I knew that I didn't have enough kid scissors for all that were coming. This was fun to see how the kids really made it their own!


Friday, June 8, 2012

Eric Carle Day 2012

Yesterday I hosted my 3rd annual Eric Carle birthday celebration! I wanted to make sure we read different books and did different crafts this year, then in years past. So after scouring Pinterest, I found some!

First up was the book Little Cloud!
Supplies needed:
blue paper
paint brush
shaving cream
Elmer's glue
plastic bowl and spoon

First up, mix equal parts shaving cream and glue in the plastic bowl with the plastic spoon. Because we were in the park, I made sure to tape all the paper down so it didn't blow away. Then just let the kids paint or dab the "paint" on the paper. All the kids had so much fun, they didn't want to move to the next station. When this dries, it will stay nice and puffy. The kids and I have used this method to make snowmen in the winter!


Next up was Mister Seahorse.
Supplies needed:
coffee filters
washable markers
spray bottle filled with water
blue paper
Elmer's glue
scissors

First draw a seahorse shape on the filter with a permanent marker. Have the kids color inside the seahorse with all kinds of colors of marker. Have the kids then spray the entire filter with water and let dry. Once dry, cut out seahorse, and glue onto blue paper. The kids can then use markers or crayons to make a fun scene for the seahorse.


And lastly we read Mixed-up Chameleon.

Supplies needed:
different colors of paper
googly eyes
glue sticks

I traced the chameleon from the cover of the book, and made a pattern. I then cut out each section out of a different color paper. To make this even easier for the kids, I numbered all the pieces so it was more like a puzzle.  Top off with googly eyes!


Inspiration for these crafts comes from:
Little Cloud
Mister Seahorse
Mixed-up Chameleon


Monday, September 26, 2011

Fun Fall leaves

I found this idea on a great blog that I follow. The Chocolate Muffin Tree always has fun kid's art and science projects to try. Now we have done the washable markers on coffee filters before, but this time we made leaves!

I laid out sheets of newspaper on our coffee table, drew leaf shapes on coffee filters, and pulled out some fall colors out of our washable marker bin. I showed the kids what to do, and they were off. They had tons of fun playing around with color combinations, and L discovered that if you just leave the marker on the filter, the ink will expand. This was fun to see because he never really paid attention to that kind of stuff before. But then that also resulted in a fight over the one skinny brown marker because "that is the only one that does it". It didn't matter that I told them all the markers do that. Oh well!


 After we colored in our leaves, we sprayed them with a mist of water out of a spray bottle I picked up at Dollar Tree. I had picked it up this summer and kept in full of water in the fridge so we could spray ourselves cooler in the hot weather. Now it will be used for crafts!


 We let them dry on the newspaper, with the windows open. Once the filters were dry, each child cut out their own. We put double sided tape on the back and put them up on the back door. It looks great, and really makes the house feel like fall!


Tuesday, October 26, 2010

Halloween crafts

We had our first set of Halloween craft days yesterday.  We were expecting 22 kids so we had to come up with a way to make things move smoothly.  We set up different stations and had the moms move with their children to each station.  There were 5 different crafts to do, for different skill levels.  These ideas came from all over the place.  Some were from The Mailbox, teaching magazine.  I have been picking these up from the library for preschool, kindergarten, and 1st grade just to get some new ideas!


The first was just simply drawing pictures on black construction paper with yellow and white crayons.  Even the youngest can do this one!
 Next up, coffee filter bats.  I got this idea both from Frugal Family Fun blog, and Kaboose web site.  Use washable markers in purple, brown, grey or black.  Color the coffee filter, and "paint" with water over what you colored.  It gives it a water color type look.  Let it dry.  When it is dry, fold in half, cut points in the non-folded half, and wrap a half of a black pipe cleaner around the middle.
 This one is from my co-organizer Amanda!  She picked up black plates and cut slits all around.  Next we wrapped grey or white yarn around the plate to make a spider web.  The kids could then attach a plastic spider ring to the web!
 We were going to do candy corn sun catchers, but with the amount of kids we were having we felt this would be easier.  I drew a candy corn shape on some white computer paper.  I then ripped orange and yellow construction paper in pieces.  The kids glued the pieces to the shape.  Very easy for kids of all ages to do.
 This is one I got from The Mailbox.  We cut 8's out of black construction paper, and 8 legs for each one.  We got to talk about how sipiders have 8 legs.  Then we added 4 eyes to each one.  I think this one was one of the favorites!
 This one was also from Amanda.  She made a copy of different leaves and cut them out.  The kids then colored each leaf.  We cut the middle out of some paper plates we had left over from the group picnic.  The kids then glued their colored leaves around the outer rim of the plate.

Friday, July 30, 2010

Crafts in July

We have been so busy that blogging has gone by the wayside.  So instead of writing much I'll just show pictures.  At the end I'll post all the link to the great blogs I have found many of these ideas.  Enjoy!


For the fun Letter animals:  http://totallytots.homestead.com/NowIKnowMyABCs.html
For the butterflies:  I followed the idea found everywhere but used washable marker and "painted" with water like found on http://www.frugalfamilyfunblog.com/2010/07/quick-craft-tie-dyed-sunshine-ornaments.html
For the ladybugs: http://www.craftideas.info/html/rock_lady_bug_b.html  and  http://www.create-kids-crafts.com/bug-and-insect-crafts-for-kids.html

Related Posts with Thumbnails